 |
| Near Symmetry For this one I created two different basic kaleidoscopes using only steps 1-5. I then rotated one of the kaleidoscopes at a 45 degree angle and placed it behind my first one that was kept at a 90 degree angle. I used one image that I created myself in Photoshop to make this kaleidoscope. Out of all 3 products, this one is my favorite. |
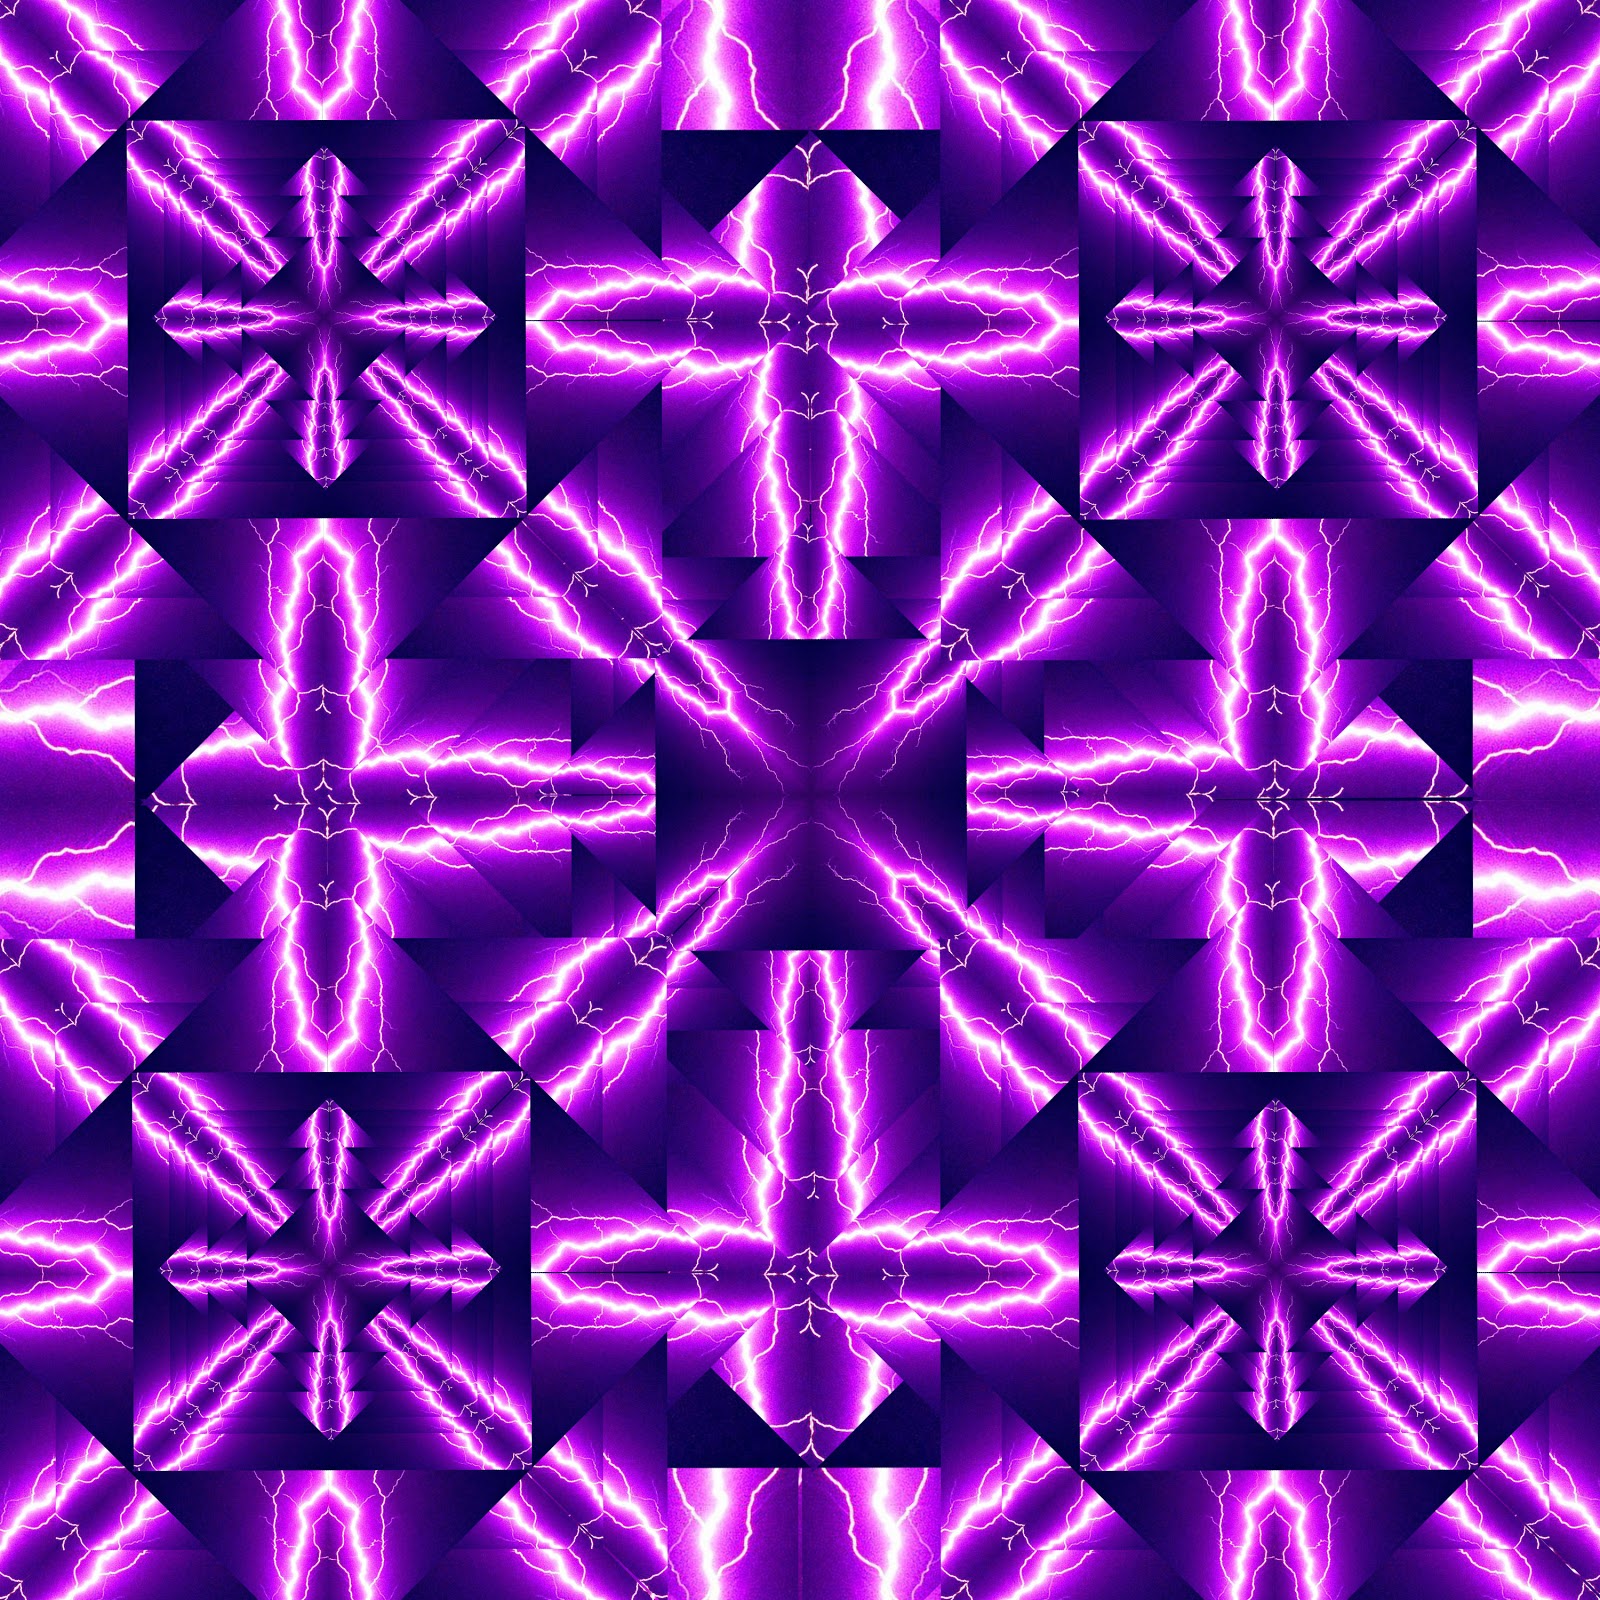 |
| Biaxial Symmetry This kaleidoscope I tried to make more complex than my others. I repeated steps 1-6 several times while also changing the size of each layer so that the ones behind it would be visible. Once I had created a kaleidoscope with many 45 degree and 90 degree pieces that contained a center I liked, I duplicated the whole kaleidoscope and reduced its size to fit in a corner of the canvas. I then placed one in each corner to keep it symmetrical and balanced. |
 |
| Radial Symmetry For this kaleidoscope I used a lot of rotation and duplication, I kept it simple and just used a lot of layers. After the kaleidoscope was done I edited the colors to make them brighter and more colorful. |
Overall, I did not like this project. Its very hard to get every measurement exactly perfect so that there is no space in-between each piece. Because of that, it was very difficult to make perfect symmetry. My only strength on this project was my skills in Photoshop. I think I should get a passing grade because I followed the directions and used my own ideas.
No comments:
Post a Comment